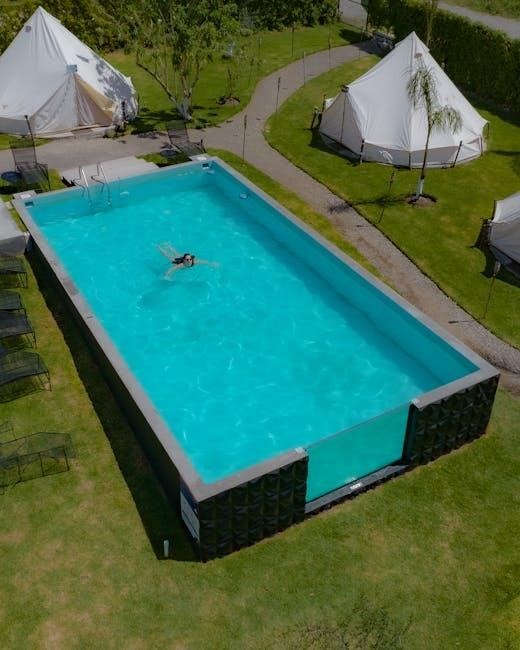
Above Ground Swimming Pool Installation Instructions: A Comprehensive Guide
Transform your backyard this summer! This guide details DIY installation, from preparation to activation, ensuring a refreshing oasis with ease and lasting enjoyment.
Planning and Preparation
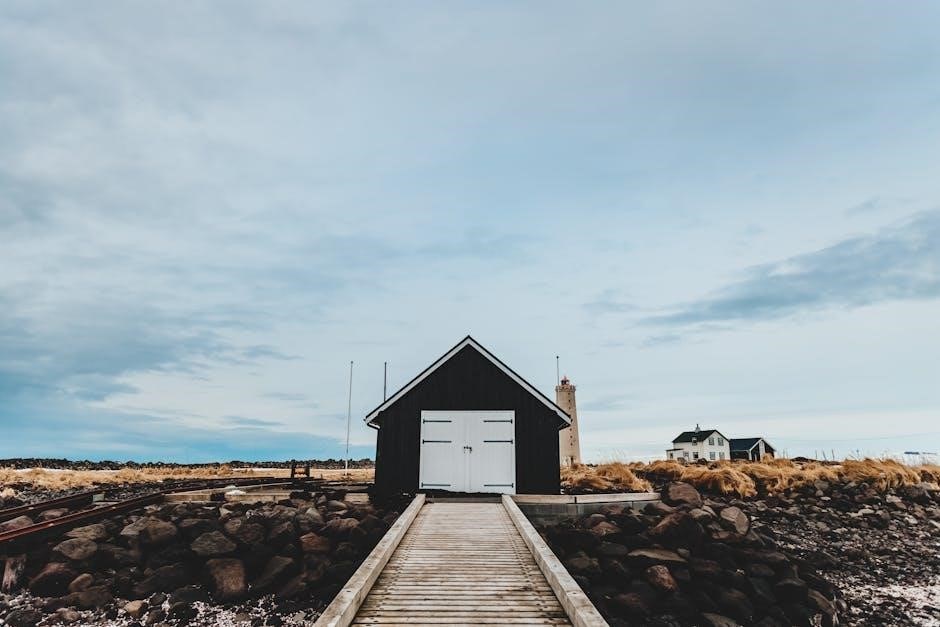
Embarking on an above ground pool installation requires meticulous planning. First, choosing the right location is paramount – consider sunlight exposure, proximity to trees (and potential debris), and accessibility for maintenance. Thoroughly investigate local regulations and permits; many municipalities have specific requirements regarding pool fencing, setbacks, and electrical connections.
Before you begin, assemble a list of essential tools and materials. This includes leveling tools (spirit level, laser level), excavation tools (shovels, rakes), compaction equipment (plate compactor is highly recommended), and safety gear. Don’t forget the pool kit itself, including the liner, frame, pump, filter, and skimmer. Reviewing hardware packs and understanding each component, as suggested by “Mike the Pool Guy,” is incredibly beneficial. Proper preparation minimizes headaches and ensures a smooth installation process, setting the stage for a summer of fun!
Choosing the Right Location
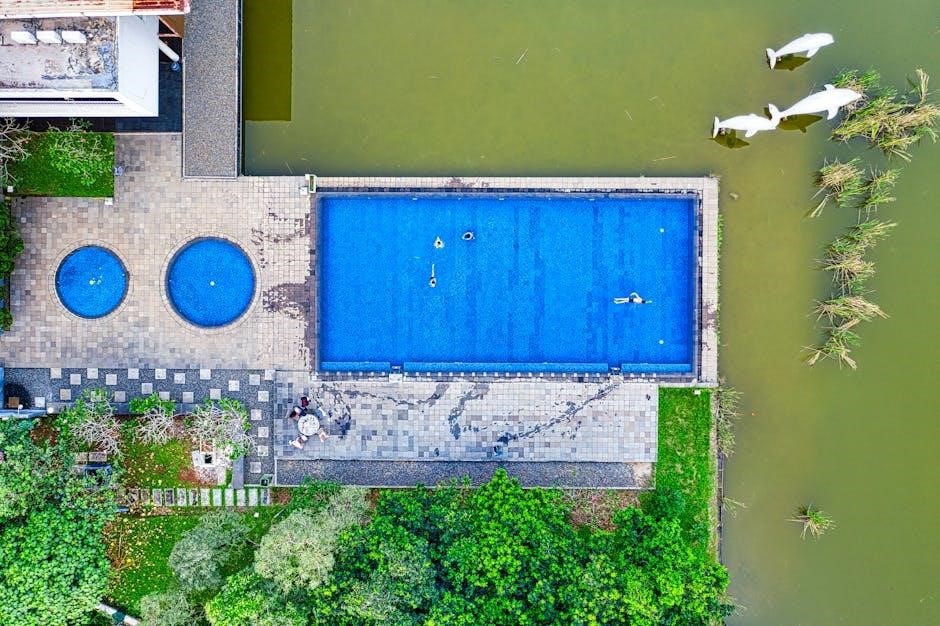
Selecting the ideal spot for your above ground pool is crucial for long-term enjoyment. Prioritize a level area, minimizing extensive excavation. Ample sunlight is desirable for warmer water, but consider shade options for relief during peak hours. Avoid placement directly under trees to reduce leaf debris and potential damage from falling branches.
Ensure the location is accessible for maintenance equipment and allows sufficient space around the pool for safe movement. Check for underground utilities – contacting your local utility companies is essential before digging. Consider proximity to electrical outlets for the pump and filter, and water sources for filling. A well-thought-out location enhances the pool experience and simplifies future upkeep, transforming your backyard into a summer paradise.
Checking Local Regulations and Permits
Before commencing installation, verifying local regulations is paramount. Many municipalities require permits for above ground pools, even those considered temporary. These regulations often cover safety features like fencing, gate requirements, and electrical connections. Ignoring these rules can lead to fines or forced removal of your pool.
Contact your local city hall or building department to inquire about specific requirements in your area. Inquire about setback distances from property lines, easements, and any restrictions related to pool size or depth. Understanding these regulations upfront prevents costly delays and ensures compliance. Proper permitting safeguards your investment and contributes to a safe and enjoyable backyard summer escape.
Essential Tools and Materials
Successful installation hinges on having the right tools and materials readily available. A level, measuring tape, and shovel are fundamental. You’ll also need a tamper for soil compaction, and potentially a wheelbarrow for moving materials. Power tools like a drill and screwdriver set will expedite assembly.
Beyond tools, gather essential materials: pool base material (sand or gravel), a ground cloth to protect the liner, and all pool components included in the kit. Don’t forget plumbing supplies for the filter and pump, and appropriate connectors. Having extra hands is invaluable, especially when handling heavier components like wall sections. A thorough inventory before starting prevents mid-project interruptions and ensures a smooth, efficient installation process.
Ground Preparation
Proper ground preparation is paramount for a stable and long-lasting above ground pool. Begin by carefully selecting a level area, free from obstructions. Thoroughly remove all debris – rocks, roots, and vegetation – to prevent liner damage. Excavation may be necessary to achieve a perfectly level surface, ensuring the pool walls are uniformly supported.
Next, focus on soil compaction. Use a tamper to firmly pack the ground, creating a solid foundation. Installing a base layer of either sand or gravel (detailed later) is crucial for cushioning and drainage. Softening the ground beforehand, as recommended by experts, can simplify this process. A well-prepared site minimizes the risk of settling or shifting, safeguarding your investment and guaranteeing years of backyard enjoyment.
Site Leveling and Excavation
Achieving a perfectly level site is non-negotiable for above ground pool installation. Begin by meticulously surveying the chosen location, identifying any high or low spots. Excavation becomes necessary when significant leveling is required; carefully remove soil from higher areas, distributing it evenly or hauling it away. Utilize a long level and straight edge to consistently check for accuracy throughout the process.
Remember, even a slight slope can cause uneven water distribution and stress on the pool walls. Prioritize precision – a properly leveled base prevents future structural issues and ensures the pool’s longevity. Mike the Pool Guy emphasizes this step, highlighting its importance for a successful DIY installation. Don’t rush; a solid foundation is the key to a summer of worry-free fun!
Removing Debris and Vegetation
Before any ground preparation can commence, a thorough clearing of the designated pool area is essential. This involves removing all existing vegetation – grass, weeds, shrubs, and roots – to prevent future growth from damaging the pool liner or base. Equally important is the removal of any debris: rocks, sticks, stones, and any other potentially sharp objects.
Carefully excavate roots to prevent regrowth. A clean slate is crucial for a stable and puncture-resistant pool base. Mike the Pool Guy stresses the importance of softening the ground, which begins with this meticulous clearing process. Ignoring this step can lead to liner tears and costly repairs down the line. Ensure a smooth, debris-free surface for optimal pool performance and longevity – a backyard paradise awaits!
Soil Compaction and Base Layer Installation
Achieving a firm, level base is paramount for above-ground pool stability and longevity. Following debris removal, thoroughly compact the exposed soil using a plate compactor. This minimizes settling and prevents uneven weight distribution, safeguarding against potential structural issues. Next, install a base layer – typically sand or gravel – to provide cushioning and further enhance leveling.
The depth of this layer depends on the chosen material and pool size, but generally ranges from 2-4 inches. Compacting this layer is equally vital. Mike the Pool Guy emphasizes proper ground preparation, and compaction is key. A well-compacted base protects the liner from punctures and ensures a consistently supported pool structure, creating a safe and enjoyable swimming experience.
Pool Base Construction
A solid foundation is critical for a successful above-ground pool installation. This stage involves choosing between a sand or gravel base, each offering unique benefits. Sand provides a naturally level surface and is generally more affordable, while gravel offers superior drainage and can be more resistant to settling. Regardless of your choice, meticulous preparation is essential.
Creating a perfectly level and thoroughly compacted base is non-negotiable. Utilize a level and plate compactor to ensure a consistently firm surface. Protecting the base from punctures is also vital; a geotextile fabric layer placed between the soil and the base material adds an extra layer of defense. Proper base construction, as highlighted by DIY guides, directly impacts the pool’s stability and liner integrity.
Sand or Gravel Base – Which to Choose?
Selecting the right base material – sand or gravel – significantly impacts your above-ground pool’s longevity and stability. Sand is often favored for its cost-effectiveness and ability to conform naturally to the ground, creating a smoother surface. However, it’s crucial to ensure proper drainage to prevent water accumulation beneath the pool.
Gravel, conversely, excels in drainage and offers greater resistance to settling over time. While potentially more expensive upfront, its durability can save headaches later. Experts recommend considering your soil type and local climate when deciding. Clay-rich soils benefit from gravel’s drainage capabilities, while well-draining soils may be suitable for sand. Ultimately, a properly prepared and compacted base, regardless of material, is paramount for a successful installation.
Creating a Level and Compacted Base
Achieving a perfectly level and compacted base is non-negotiable for above-ground pool success. Begin by meticulously leveling the prepared site, removing any high or low spots. Utilize a long level and straight edge to verify accuracy across the entire area. Once leveled, the chosen base material (sand or gravel) must be spread evenly.
Compaction is then critical. A plate compactor is highly recommended, passing over the base multiple times to achieve maximum density. This prevents settling and ensures uniform support for the pool walls. Regularly check for levelness during compaction, adding or removing material as needed. A solid, well-compacted base safeguards against structural issues and prolongs the life of your investment, providing a stable foundation for years of enjoyment;
Protecting the Base from Punctures
Preventing punctures to the pool liner from below is paramount for a leak-free experience. Before laying the liner, thoroughly inspect the compacted base for any sharp objects – rocks, roots, twigs, or debris. Remove absolutely everything that could potentially compromise the liner’s integrity.
Consider adding a protective layer between the base and the liner. A specialized pool pad, geotextile fabric, or even a thick layer of felt can act as a cushion and barrier. This extra precaution significantly reduces the risk of punctures, saving you from costly repairs and frustrating downtime. Careful preparation at this stage ensures a smooth, enjoyable swimming season, free from unexpected water loss and maintenance headaches.
Pool Frame Assembly
Careful assembly of the pool frame is crucial for stability and longevity. Begin by laying out all components and referencing the manufacturer’s instructions – each model varies. Typically, this involves connecting the wall sections, ensuring they align perfectly. Use the provided hardware, tightening bolts securely but avoiding over-tightening, which can cause damage.
As you build upwards, frequently check for levelness. A slightly uneven frame can lead to significant problems later. It often takes multiple people to steady heavier components during this phase. Once the walls are connected, verify their stability before proceeding. A solid, level frame is the foundation for a safe and enjoyable swimming experience, preventing potential collapses and ensuring proper liner installation.
Assembling the Pool Walls
Begin by carefully unpacking and identifying each wall section. Lay them out in the intended circular or rectangular configuration, following the manufacturer’s diagram precisely. Connect the sections using the provided connectors – these often involve interlocking mechanisms and bolts. Ensure each connection is snug, but avoid excessive force initially.
As you join sections, continuously check for alignment. Misalignment at this stage will compound into larger issues later. It’s helpful to have an assistant to hold sections steady while you secure them. Once all sections are connected, perform a preliminary tightening of all bolts. Remember, a stable wall structure is paramount for a successful installation and a safe swimming environment. Double-check all connections before moving to the next step.

Connecting Wall Sections Securely
Now, focus on achieving a robust and lasting connection between each wall section. Utilizing the provided hardware – typically bolts, screws, and plates – systematically tighten each fastener. Avoid over-tightening initially; work in a circular pattern, gradually increasing pressure on each bolt. This prevents warping or stress fractures in the wall material.
Inspect each connection point for proper alignment and ensure the connecting plates are flush against the wall sections. A secure connection resists water pressure and maintains the pool’s structural integrity. Regularly check for any gaps or looseness as you progress. A properly connected wall is the foundation of a safe and enjoyable swimming experience, preventing potential collapses or leaks. Prioritize precision and thoroughness during this crucial phase.
Ensuring Wall Stability and Leveling
Maintaining perfect levelness and stability is paramount for a long-lasting pool. After connecting the wall sections, utilize a long level – ideally spanning several sections at once – to verify consistent height around the entire circumference. Minor adjustments can be made by gently tapping the base of the wall sections with a rubber mallet. Avoid forceful impacts that could damage the structure.
Continuously monitor for any bowing or leaning, especially during the initial stages. Support the walls temporarily with bracing if necessary, until the weight of the water provides inherent stability. A level pool distributes water pressure evenly, preventing stress on the liner and frame. Prioritize meticulous leveling; it’s a critical step often overlooked, but essential for preventing future issues and ensuring a safe, enjoyable swimming experience.
Liner Installation
The liner is the pool’s waterproof barrier, demanding careful handling and precise placement. Begin by thoroughly inspecting the pool frame for any sharp objects or protrusions that could puncture the liner. Gently unroll the liner near the pool, allowing it to warm up and become more pliable – especially crucial in cooler temperatures. Avoid dragging it across abrasive surfaces.
Carefully position the liner within the frame, ensuring it’s centered and draped evenly. Start with the bottom, then gradually work your way up the sides. Smoothing out wrinkles is vital; use a soft brush or your hands, working from the center outwards. Secure the liner to the top rail using coping strips, ensuring a snug fit. Patience is key – a properly installed liner prevents leaks and extends the pool’s lifespan.
Preparing the Liner for Installation
Before introducing the liner to the pool, meticulous preparation is essential for a smooth, wrinkle-free installation. Begin by completely clearing the pool base of any remaining debris – even small pebbles can cause punctures. Allow the liner to sit in the sun for at least an hour (or longer if the weather is cool) to increase its flexibility. This makes it significantly easier to maneuver and conform to the pool’s shape.
Carefully unroll the liner near the pool, avoiding dragging it across rough surfaces. Inspect it thoroughly for any factory defects or damage. Gently shake out any folds or creases. A pliable, clean liner is far less prone to wrinkles during installation, ensuring a longer lifespan and a more aesthetically pleasing pool.
Carefully Positioning the Liner within the Pool Frame
With the liner prepped, gently begin positioning it inside the pool frame, starting with one side and working your way around. Avoid pulling or stretching the liner excessively; instead, let it drape naturally into the pool. Ensure the liner’s seams align correctly with the pool’s structure. Having a helper during this stage is incredibly beneficial, as it allows for controlled placement and minimizes the risk of tears or damage.
Center the liner as precisely as possible, leaving an equal amount of material extending over the top edge of the pool wall all around. This excess will be trimmed later. Take your time and constantly check for proper alignment – a well-positioned liner is the foundation for a successful installation and a beautiful, long-lasting pool.
Smoothing Out Wrinkles and Securing the Liner
Once positioned, address any wrinkles or folds in the liner. Gently smooth them outwards, working from the center towards the edges. A soft brush or even your hands can be used, but avoid abrasive tools that could damage the liner material. Small wrinkles may disappear as the pool fills with water, but larger ones should be addressed now.
Begin securing the liner to the top rail of the pool frame, typically using coping strips or clamps. Ensure the liner is taut but not overly stretched. Work your way around the entire pool, evenly securing the liner as you go. This step is crucial for preventing slippage and maintaining a neat, professional appearance. Consistent tension is key for a wrinkle-free finish.
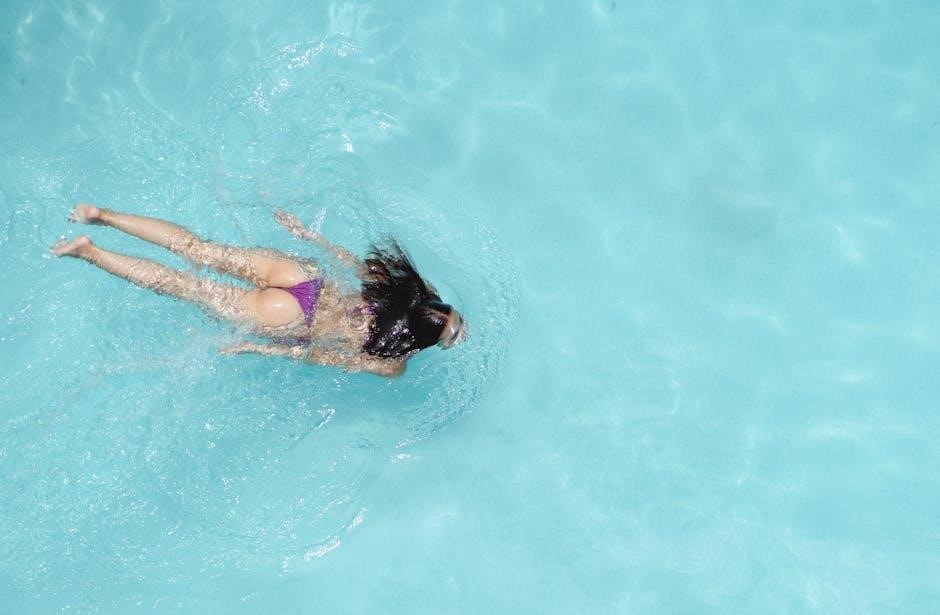
Water Filling and Final Checks

Initiate the water filling process slowly, constantly monitoring the liner for proper positioning and any emerging wrinkles. As the water level rises, continue to adjust the liner, smoothing out any imperfections. This initial fill is critical for ensuring a snug and secure fit against the pool walls. Once a few inches of water are present, re-evaluate the liner’s placement.
Next, install the skimmer and return fittings according to the manufacturer’s instructions. These components are essential for proper water circulation and filtration. Complete the water filling, and once full, activate the pump and filtration system. Thoroughly inspect all connections for leaks and ensure the system is operating correctly. Enjoy your new backyard oasis!
Initial Water Filling and Liner Adjustment
Begin filling the pool with water cautiously, observing the liner’s behavior as it takes shape. A slow, steady fill is paramount to prevent wrinkles and ensure even distribution. As the water level increases, meticulously smooth out any creases or folds that appear, working from the center outwards. This proactive approach minimizes the risk of permanent liner damage.
Pay close attention to the liner’s fit against the pool walls; it should be snug and secure. Minor adjustments can be made during this stage, but significant repositioning after substantial filling becomes increasingly difficult. Regularly check for any signs of stress or distortion, addressing them promptly. This initial phase sets the foundation for a flawless pool experience.
Installing Skimmer and Return Fittings
Once a sufficient water level is achieved, carefully install the skimmer and return fittings. The skimmer, responsible for surface debris removal, requires precise placement and sealing to prevent leaks. Ensure the skimmer opening aligns correctly with the pool wall opening before tightening all connections.
Return fittings, which circulate filtered water, are equally crucial. These are typically installed through pre-cut holes in the pool liner. Apply a suitable sealant around the fitting base before securing it tightly; Double-check all connections for leaks after initial system activation. Proper installation of these fittings is vital for efficient water circulation and a clean, enjoyable swimming experience.
Completing Water Filling and System Activation
As you approach the full water level, continuously monitor the pool liner for any signs of shifting or wrinkling, making minor adjustments as needed. Once completely filled, carefully inspect all fittings – skimmer, return jets, and any other connections – for leaks. Now is the time to activate your pool’s filtration system.
Begin by priming the pump according to the manufacturer’s instructions. Once primed, turn on the system and observe the water circulation. Check the filter pressure and adjust as necessary. Finally, test the water chemistry and balance the pH, alkalinity, and chlorine levels. A properly activated and balanced system ensures a safe and enjoyable swimming experience all season long!