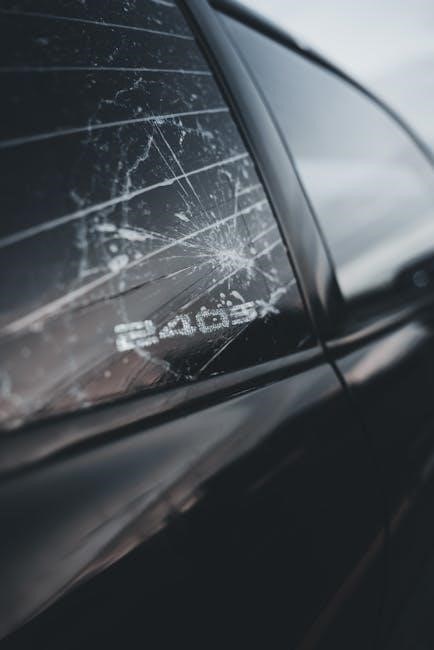
Converting a 240sx from automatic to manual enhances performance, driver control, and enthusiasts’ satisfaction. This swap involves replacing key components like the transmission and clutch system.
Overview of the Conversion Process
The auto-to-manual conversion in a 240sx involves replacing the automatic transmission with a manual setup. This process includes draining fluids, removing the battery for safety, and disconnecting electrical components. The automatic transmission is then taken out, and the manual transmission, clutch system, and associated parts are installed. Key steps involve adapting the wiring harness to accommodate the manual setup and ensuring proper alignment of components. The conversion requires careful planning, specialized tools, and attention to detail to ensure functionality and safety. It’s a complex but rewarding modification that enhances driving performance and control. Proper preparation and execution are essential for a successful swap.
Why Convert from Automatic to Manual Transmission?

Converting from automatic to manual transmission in a 240sx offers numerous benefits, including improved acceleration, better fuel efficiency, and enhanced driver control. Manual transmissions are often more durable and cost-effective in the long run compared to automatics. Additionally, the driving experience becomes more engaging and enjoyable, especially for enthusiasts seeking a more hands-on connection with the vehicle. The swap is also a popular modification for performance-driven owners, as it eliminates torque converter slippage and provides crisper gear shifts. Many consider it a worthwhile investment to unlock the car’s full potential, making it a highly recommended first modification for those looking to upgrade their 240sx.

Key Components and Parts Needed for the Conversion
The conversion requires a manual transmission, clutch kit, flywheel, driveshaft, transmission mount, and wiring harness. Additional components include a manual brake pedal and pilot bushing.
Mechanical Parts Required (Transmission, Clutch, Flywheel, etc.)
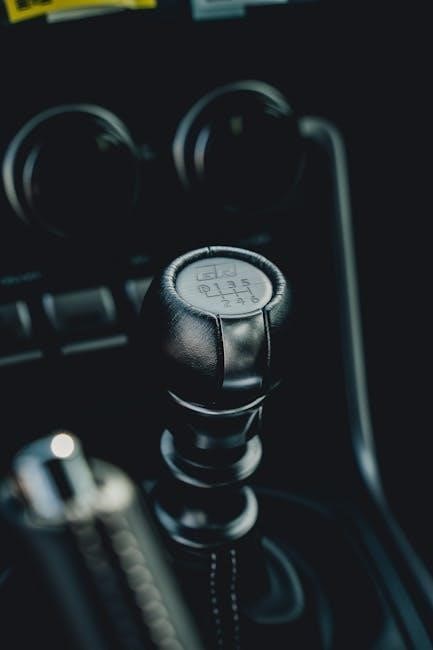
The primary mechanical components needed include a 5-speed manual transmission (S13 or S14 compatible) and a clutch kit with a lightweight flywheel for improved performance. A new driveshaft is also required to match the manual transmission’s specifications. Additionally, a manual brake pedal assembly is necessary, as the automatic pedal is not compatible. A pilot bushing must be installed to align the transmission properly. These parts ensure smooth operation and proper integration of the manual system. Proper selection and installation of these components are critical for a successful conversion.
Electrical and Wiring Components (ECU, Speed Sensor, etc.)
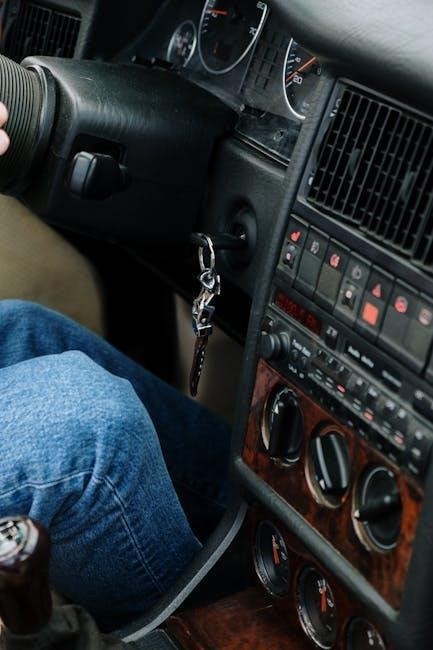
The electrical and wiring components are crucial for a seamless auto-to-manual conversion in the 240sx. Key items include adapting the wiring harness to accommodate the manual transmission, ensuring proper communication between the ECU and the new setup. The speed sensor from the automatic transmission must be retained or replaced with a compatible manual transmission speed sensor to maintain accurate speed readings; Additionally, the ECU may need reconfiguration or replacement to function correctly with the manual transmission. These electrical adjustments ensure proper gear shifting, accurate speedometer readings, and overall system compatibility. Proper wiring setup is essential for avoiding errors and ensuring smooth operation.

Step-by-Step Installation Guide
The process involves draining fluids, removing the automatic transmission, and installing the manual unit with a new clutch system, ensuring proper alignment and secure mounting.
Preparation Steps (Draining Fluids, Removing Battery, etc.)
Begin by draining the automatic transmission fluid to prevent spills during disassembly. Remove the battery to ensure electrical safety and avoid any accidental startups. Jack the car securely on stands, ensuring stability for underside work. Locate and mark all essential components for easy reinstallation later. Disconnect the negative battery terminal to prevent electrical hazards. Gather the necessary tools and parts, such as the pilot bushing puller and replacement bushing. Cover the work area to protect against fluid spills and debris. Double-check that all safety precautions are in place before proceeding with the transmission removal.
Removing the Automatic Transmission
Start by disconnecting the shifter and electrical connectors from the automatic transmission. Drain the transmission fluid to minimize mess. Support the transmission with a jack and remove the crossmember bolts. Carefully lower the transmission jack and slide the transmission out from under the car. Ensure all hoses, wires, and mounts are disconnected to avoid damage. Use a transmission jack for stability, as the unit is heavy. Once free, pull the transmission straight out, taking note of any components that may need to be transferred to the manual unit. Proper support and alignment are crucial during this step to prevent damage or injury.
Installing the Manual Transmission and Clutch System
Align the manual transmission with the engine’s bellhousing, ensuring proper fitment. Secure the transmission using the factory bolts, tightening them evenly. Install the clutch kit, including the pressure plate and disc, onto the flywheel. Attach the clutch slave cylinder to the transmission and connect it to the clutch master cylinder. Replace the pilot bushing with the manual-specific version, using a pilot bushing puller if necessary. Reconnect the driveshaft to the transmission and secure it with the center bearing. Finally, install the manual transmission mounts and crossmember, ensuring everything is tightly bolted. Proper alignment and torque specifications are critical for smooth operation and longevity of the components.
Wiring and Electronics Setup
Adapt the wiring harness to integrate manual transmission components, ensuring compatibility with the ECU and speed sensor for proper functionality and accurate engine control signals.
Adapting the Wiring Harness for Manual Transmission
Adapting the wiring harness involves reconfiguring the electrical system to support manual transmission components. This includes integrating the clutch pedal switch, gear position sensor, and manual transmission-specific wiring. Ensure compatibility with the ECU by re-pinning connectors and updating the wiring diagram. The speed sensor from the automatic transmission can often be reused, but additional sensors may be required for accurate gear position detection. Proper wiring ensures smooth communication between the engine and transmission, avoiding errors and maintaining optimal performance. Consult a detailed wiring guide or professional if unsure about specific connections or modifications.
Post-Installation Steps
Bleeding the clutch system and testing the setup through a test drive ensures proper functionality and performance of the newly installed manual transmission.
Bleeding the Clutch System and Testing the Setup
Bleeding the clutch system is essential to remove air bubbles, ensuring smooth pedal operation. Use a pressure bleeder or manual bleeding with a helper. After bleeding, test the clutch by pressing the pedal and shifting through gears to ensure proper engagement. Start with low-speed maneuvers, gradually increasing speed to verify smooth operation. Pay attention to any spongy or inconsistent pedal feel, which may indicate air remains in the system. Proper testing ensures the conversion’s success and reliability, providing a responsive driving experience.
Tools and Time Required
Essential tools include jack stands, wrenches, screwdrivers, and a pilot bushing puller. The conversion typically takes 8–12 hours, depending on mechanical aptitude and experience.
Essential Tools for the Conversion Process
To successfully complete the auto-to-manual conversion in a 240sx, specific tools are required. A transmission jack or jack stands are crucial for safely lifting and maneuvering the transmission. Basic wrenches and screwdrivers are needed for disassembly and reassembly. A pilot bushing puller is essential for removing the old pilot bushing from the automatic transmission. Additionally, a drain pan is necessary for catching ATF fluid during the process. Other tools include a torque wrench for proper bolt tightening, a socket set for various fasteners, and safety gear like gloves and eye protection. These tools ensure efficiency and safety throughout the conversion process, helping to avoid potential complications. Proper preparation is key to a smooth swap.
Estimated Time to Complete the Swap
The auto-to-manual conversion in a 240sx typically takes 8-12 hours, depending on mechanical aptitude and familiarity with the process. Experienced mechanics can complete it faster, while novices may need more time. The complexity of tasks, such as wiring adjustments and transmission alignment, can extend the duration. Proper preparation and organization of tools and parts significantly reduce the time required. Plan for a full weekend to ensure a meticulous and stress-free installation. Rushing the process may lead to errors, so allocate sufficient time to complete each step accurately. Patience and attention to detail are key to a successful swap.
Converting a 240sx from automatic to manual offers enhanced driving experience, improved performance, and better control. The effort and cost are rewarding for enthusiasts seeking a more engaging ride.
Final Thoughts and Benefits of the Conversion
Converting a 240sx from automatic to manual is highly rewarding, offering improved performance, better driver engagement, and increased control. The swap enhances acceleration and gear responsiveness, making it ideal for enthusiasts. While the process requires time and effort, the benefits far outweigh the costs. Many owners report no significant drawbacks, with the ability to start the car without pressing the clutch being a notable advantage. The conversion also opens up opportunities for further modifications. With proper planning and execution, the manual transmission swap is a cost-effective way to elevate the driving experience while retaining the car’s reliability and functionality.