Nail drill bits are essential tools for professional nail technicians and at-home enthusiasts, offering precise shaping, smoothing, and removal of enhancements, ensuring a polished finish every time.
Importance of Nail Drill Bits in Nail Care
Nail drill bits are indispensable in modern nail care, offering precision and versatility for shaping, smoothing, and refining nails. They enable technicians to achieve flawless results, whether for natural nails or nail art. By removing gel polish and other enhancements efficiently, they simplify the process while maintaining nail health. Their ability to adapt to various speeds and techniques makes them essential for both professionals and at-home use, ensuring a polished finish every time. Proper use of drill bits enhances the overall quality of nail care services, making them a cornerstone in the industry.

Types of Nail Drill Bits
Nail drill bits vary in shapes, materials, and sizes, catering to different nail care needs, from shaping and polishing to removing enhancements, ensuring versatility and precision.
Shapes of Nail Drill Bits
Nail drill bits come in various shapes, each designed for specific tasks. The barrel shape is ideal for polishing and smoothing nails, while the cone shape is perfect for refining edges and cuticles. Cylindrical bits are great for shaping and shortening nails, and needle-shaped bits are used for detailed work and cleaning around the nail bed. Each shape offers unique benefits, allowing technicians to achieve precise results. Whether it’s shaping, smoothing, or refining, the right shape ensures efficiency and professionalism in nail care. Choosing the correct shape is crucial for achieving the desired nail appearance and maintaining healthy nail integrity. Proper use of each shape enhances the overall manicure or pedicure experience.
Materials Used for Nail Drill Bits
Nail drill bits are crafted from various materials, each offering distinct advantages. Ceramic bits are durable and gentle on nails, making them ideal for delicate tasks. Diamond-coated bits are known for their exceptional hardness and long lifespan, perfect for heavy-duty use like gel polish removal. Carbide bits are versatile and suitable for both natural and artificial nails, providing a balance of strength and precision. Mandrel bits are often used as attachments for buffing and polishing, enhancing the shine of nails. Each material is chosen based on the specific needs of the task, ensuring optimal performance and nail health. Understanding the materials helps in selecting the right tool for achieving professional-grade results in nail care routines.

Uses of Nail Drill Bits
Nail drill bits are versatile tools used for shaping, smoothing, and refining nails. They also effectively remove gel polish and other enhancements, ensuring precise and professional results every time.
Nail Shaping and Smoothing
Nail drill bits are indispensable for achieving perfectly shaped and smooth nails. They come in various shapes and grits, allowing precise control over nail shaping. Coarser bits quickly remove excess nail material, while finer ones polish the surface for a glossy finish. For natural nails, drill bits are used at 3,000-5,000 RPM, ensuring gentle yet effective shaping. Proper technique involves light pressure and consistent movement to avoid overheating the nail. This process not only enhances the appearance of nails but also prepares them for further enhancements like gel polish or dips, making it a crucial step in both professional and at-home nail care routines.
Removing Gel Polish and Other Enhancements
Nail drill bits are highly effective for safely removing gel polish and other nail enhancements. Using a drill bit at higher RPMs (8,000-10,000 for beginners, 10,000-12,000 for professionals) ensures efficient removal without damaging the nail. The process involves gently scraping off the gel polish layer while maintaining light pressure to avoid overheating or nail damage. Proper drill bits, such as those with diamond or carbide coatings, are designed to break down tough enhancements without harming the natural nail. This method is faster and less abrasive than traditional acetone soaking, making it a preferred choice for both professionals and at-home users seeking a clean and precise finish.

Maintenance and Safety Tips
Proper maintenance involves regular cleaning with isopropyl alcohol and storing bits in a dry place. Always use the correct RPM for your task and keep bits sanitized to prevent infections.
Proper Cleaning and Sanitization
Cleaning and sanitizing nail drill bits are crucial for maintaining hygiene and preventing infections. After each use, wash the bits with mild soap and warm water to remove debris. Sanitize by soaking in 70% isopropyl alcohol for at least 10 minutes; For more thorough cleaning, use an ultrasonic cleaner to remove stubborn particles. Always store bits in a dry, clean container to prevent rust or contamination. Regular maintenance ensures longevity and effectiveness of the drill bits while safeguarding client health. Proper sanitization techniques are essential for professional nail technicians and home users alike to maintain high standards of hygiene and safety.
Safety Precautions While Using Drill Bits
Using nail drill bits requires attention to safety to avoid injuries and ensure effective results. Always wear protective eyewear to shield against debris. Keep loose hair and clothing tied back to prevent accidental entanglement. Maintain a firm grip on the drill, operating it at appropriate speeds based on the type of nail and task. Avoid applying excessive pressure, which can damage nails or cause breakage. Ensure the drill bit is properly secured to the machine to prevent it from slipping. Work in a well-lit area to maintain clear visibility. Regularly inspect drill bits for wear and tear, replacing them when necessary. By following these precautions, you can safely achieve professional-grade nail care at home or in a salon setting.
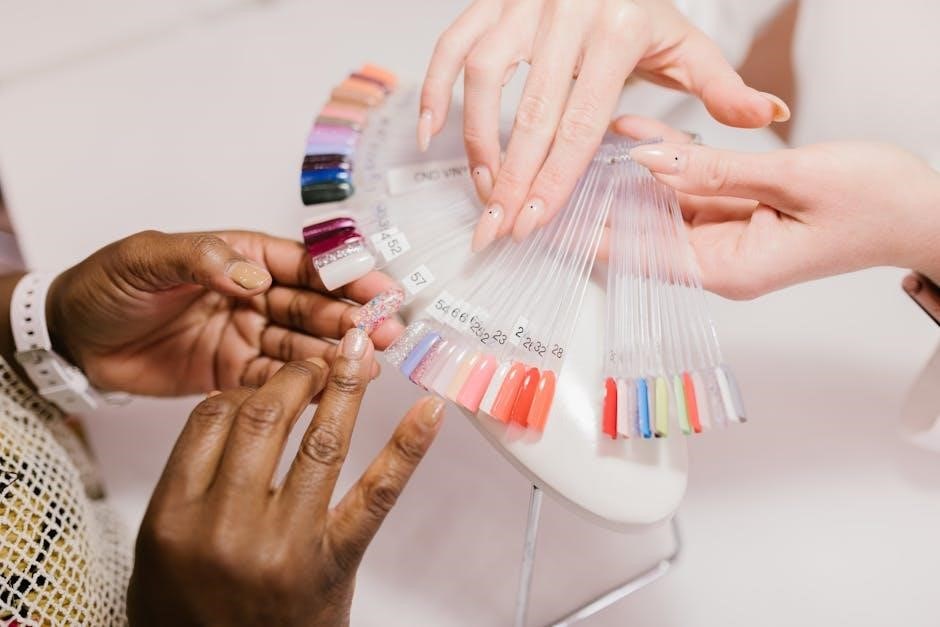
Choosing the Right Drill Bit
Selecting the correct drill bit involves considering factors like nail type, desired finish, and task requirements to ensure efficiency and avoid damage, enhancing overall results effectively.
Factors to Consider for Selection
When choosing nail drill bits, consider the material, shape, and grit size. Material: Carbide bits are durable and long-lasting, while diamond bits are ideal for precise shaping. Grit size: Lower grits (80-100) are for rough shaping, while higher grits (150-220) are for smoothing and finishing. Nail type: Natural nails may require less aggressive bits than gel or acrylic enhancements. Drill bit shape: Barrel shapes polish and smooth, while tapered bits are for detailed work. RPM settings: Match the bit material and nail type to the drill’s speed for optimal results. Considering these factors ensures the right tool for the task, enhancing both efficiency and safety.
Common Mistakes to Avoid
When using nail drill bits, avoid common mistakes to ensure safe and effective results. Over-drilling can damage the nail plate, while using high RPM settings on natural nails may cause cracking. Using the wrong grit size can lead to uneven shaping or excessive removal. Applying too much pressure can break or split nails, especially with brittle or weak ones. Forgetting to clean and sanitize bits between uses can lead to infections. Additionally, not matching the drill bit material to the task (e.g., using diamond bits for gel removal) reduces efficiency. Lastly, ignoring proper RPM settings for specific nail types can result in poor finishes or nail damage. Avoiding these errors ensures better outcomes and nail health.
Step-by-Step Guide to Using Nail Drill Bits
Prepare your nails by removing old polish and pushing back cuticles. Ensure the nail is clean and dry for better adhesion.
Select the right drill bit based on your task—shaping, smoothing, or removing gel polish.
Set the correct RPM on your drill (3,000-5,000 RPM for natural nails, 8,000-10,000 RPM for gel removal).
Gently apply the drill bit to the nail surface, moving in one direction to avoid scratches. Use light pressure for natural nails and firmer pressure for gel removal.
Inspect the nail regularly to avoid over-drilling. Stop when the desired shape or smoothness is achieved.
Finish with a buffer to polish the nail for a shiny finish.
Sanitize the drill bit after use to prevent infections. Follow these steps for professional-quality results at home or in the salon.